Look Ma, no smoker!

Since getting into Sous Vide cooking I have tried a few times to do BBQ/smoking with this technique. I figured the "low and slow" mantra of slow cooking was a natural match for the water bath. None of my attempts worked. The most notable failure was a whole brisket that I vacuum packed with seasoning and liquid smoke and water bathed for 40 hours. There was almost no smoke flavor but the meat was fork tender.
Recently the ChefSteps people were featured for their "Apartment Ribs" on the "Tested" you tube page. So I tried it and modified it. Then again, and again. Lately I served this iteration of the ribs for a group of 10 at a party and they were well received. The main problem with the apartment ribs was the short (6 to 8 hour) cook time. Wifey likes fall off the bone ribs and that takes longer. Lots longer.
There are three steps to this recipe; the preparation of the rub (which contains charred onion and garlic for smoky flavor), slow cooking of the ribs, and finishing in a hot oven or grill. You can watch the source material but here are my variations. I separate the racks into 3 or 4 rib portions and vacuum seal with .5 to .75% salt. Sous vide at 145F for 48 hours. After unbagging and patting dry I brush the ribs with a mixture of molasses and liquid smoke. Sprinkle with my modified seasoning mixture and bake on the grill for 4 to 5 minutes to make a bark.
One note. This makes a lot of the rub. Go ahead and bag it up and use it as needed.
Here we go! You'll need;
- Some Baby Back Ribs (membrane removed)
- Vacuum sealer (or displacement method)
- Sous vide rig
- salt (.5% to .75% of rib weight)
- 1 large onion sliced thin (mandolin)
- 1 head of garlic peeled and sliced super thin
- smoked paprika (not the regular kind)
- smoked salt (if you can get it)
- black pepper
- mustard seed
- celery seed
- cumin
- mace or fresh nutmeg
- molasses
- liquid smoke
Remove the membrane from the ribs if it hasn't already been removed. Rinse the ribs and cut into 3 to 4 rib portions.

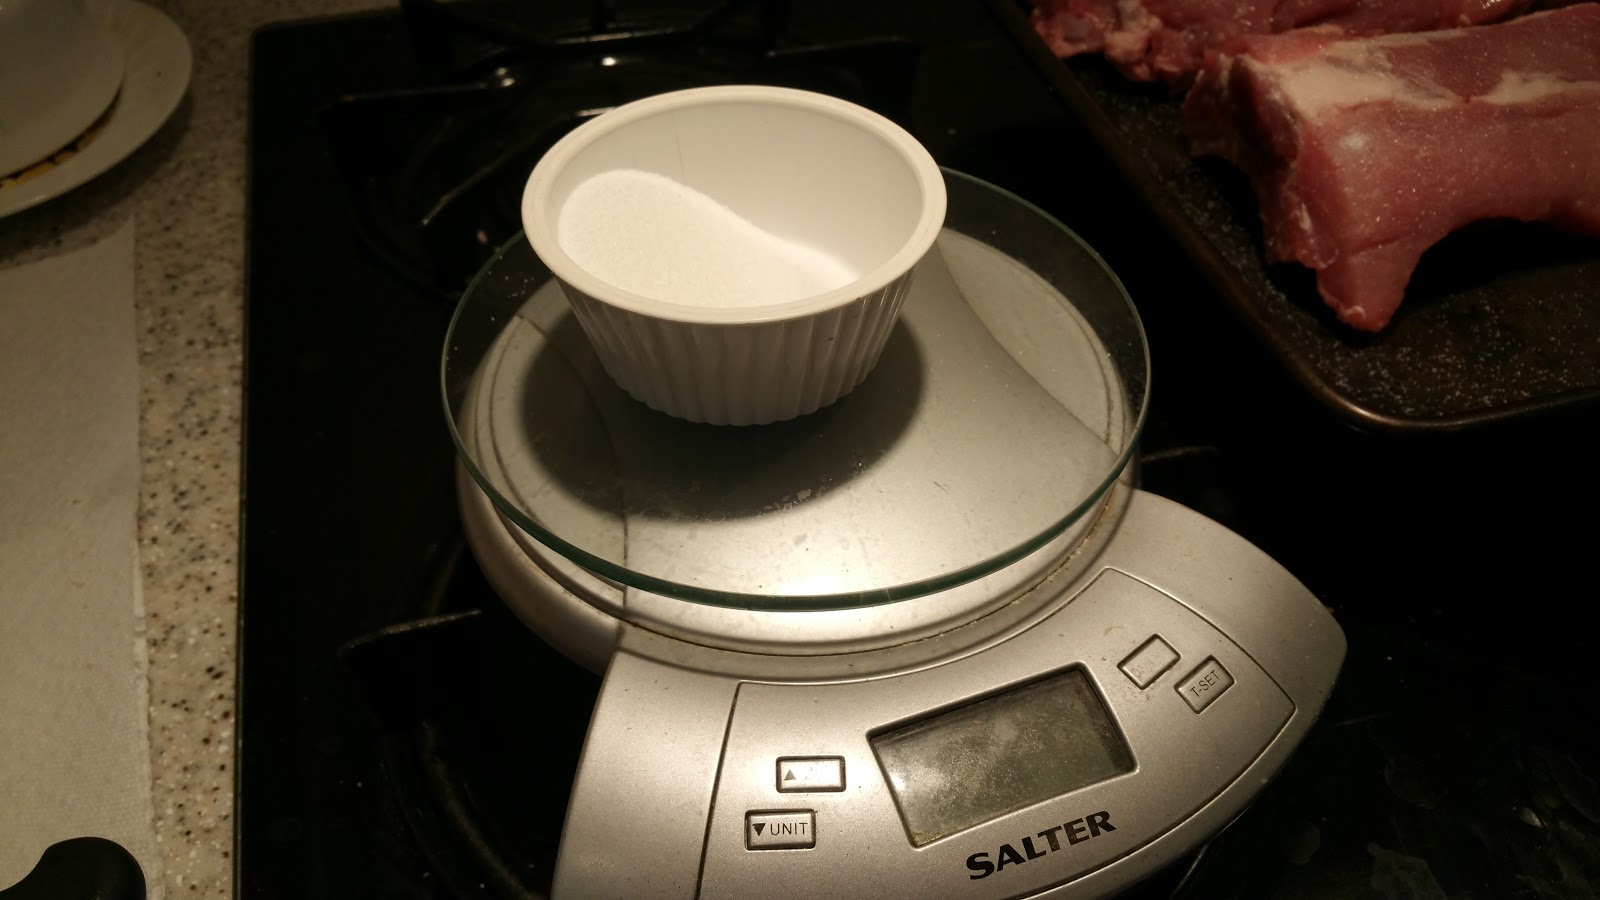
Salt the portions. I used regular iodized salt, but you could use fancy salt if you'd like.

Bag them up and get them into the water bath. Start the clock. 48 hours is plenty of time to do the rest of this.


Do the rest of this on the day you will serve your ribs.
Slice the onion and garlic exceedingly thin. Lay out the onion on one parchment paper covered cookie sheet and the garlic on another. This is in case it takes one longer to char than the other.
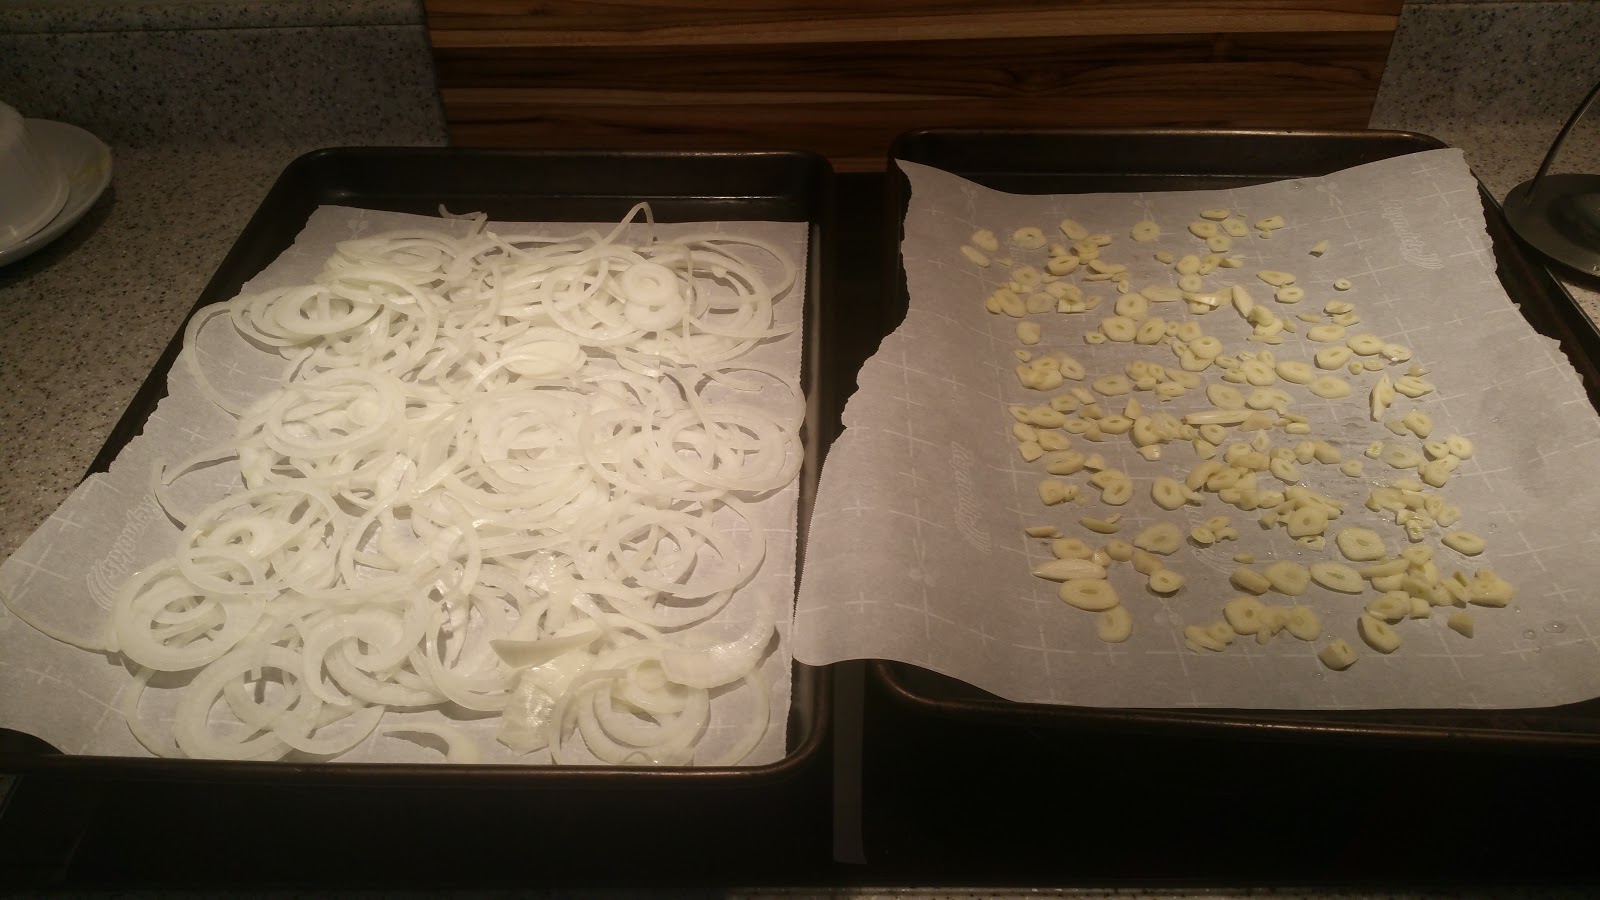
Put them into a 300F to 350F oven for a few hours (3 for me) until they have browned and are brittle.


Let them cool and collect them together in the paper and pour into a bowl. Crunch everything up into a coarse powder.


Weigh the coarse powder. This is one unit of weight. For me it was about 60 grams.

Now add the following spices to your charred onion/garlic;
- 1.5 units of smoked paprika
- 2/3 unit each of smoked salt, black pepper, mustard seed
- 1/2 unit each of celery seed, cumin, and mace (or fresh ground nutmeg).
This makes a ton of rub that can be ground in small batches as you need. This bag is what I have left after 5 racks of ribs (about 15 pounds of ribs). I'm gonna try it on salmon next.

You must grind this up to distribute the mustard seed and to get the right mouth feel. I use a coffee grinder and pulse it a few times to get a fine coffee-like consistency.

Now make a wash from 2 parts molasses and 1 part liquid smoke. I put it in a squeeze bottle if I'm going to be making a lot of ribs.
When it comes time to serve, remove the ribs from the bath.


Then remove from the bag and pat dry with paper towels. Sous Vide meats are totally unappetizing looking but majorly delicious.

Brush on the liquid to the bottom side.

Then apply the rub.

Flip, and do the same to the top.

Put them into a 400F oven or on a med grill (lid closed) for approx 5 min.

Look at the results!


Bones are falling out. One of the reasons I like to portion the ribs ahead of time is that they are difficult to cut after cooking. If you have to cut them, do so from below so that you can see the ribs and not ruin the top bark.


